Backups, Clones and Images

Doppel Your Drive For Backup or Data Recovery

DriveDoppel

DriveDoppel, offered for free by Runtime Software, allows users to create full hard drive images, including areas with bad sectors. These sector-by-sector clones serve data recovery and backup needs and are compatible with Runtime Software tools like GetDataBack, Captain Nemo, RAID Reconstructor, and third-party applications.

WARNING: This program is still in BETA. Use it at your own risk. Do not  use with valuable data.

Price: Free

Version: V0.93 BETA, September 21, 2024

System Requirements: 4 GB RAM, Windows XP, Vista, 7, 8, 10, 11, Server 2008, 2012, 2016, 2019, 2022, 32 or 64 bit

Highlights

  • Dual purpose cloning for backup and data recovery 

  • Backup entire drives to image files

  • Restore images to drives

  • Create "hot images" with VSS technology

  • Create compressed images

  • Recover a backup, restore a data recovery image

  • Create "smart" images, copying only used sections

  • View existing images with Captain Nemo

  • Recover data from images with GetDataBack Pro

  • Copy directly from drive to drive 

  • Runs as a command line program and can easily be incorporated into scripts and tasks

  • Run from a WinPE Boot Medium

  • Ignore bad sectors for data recovery images

  • Works with pure sector-by-sector images (IMG)

  • Works with compressed images (IMC)

  • Works with virtual images (VIM) as created by RAID Reconstructor

  • It's free!

Recover a Backup — Restore a Data Recovery Image

DriveDoppel is doppel in a doppel sense: double your drive and double the double's possible uses: Recover data from a backup or restore a drive from an image created for data recovery purposes. The shared sector-by-sector image format makes this possible. 

DD - DriveDoppel

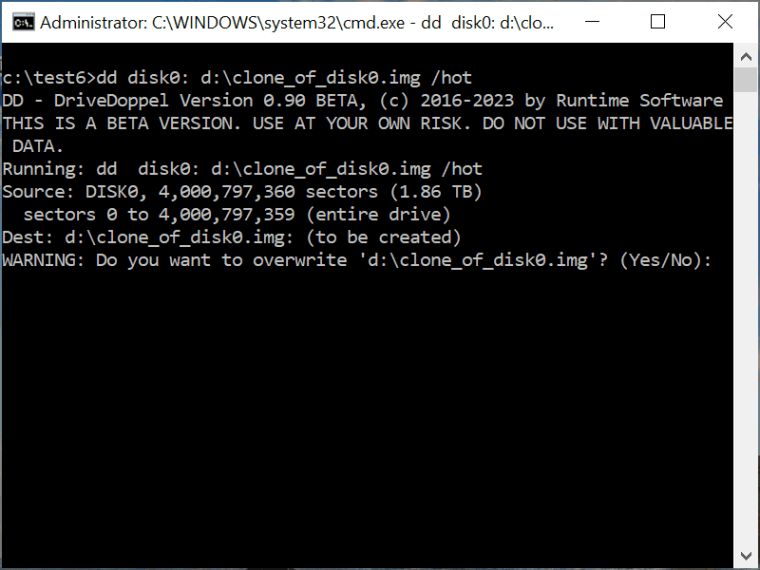
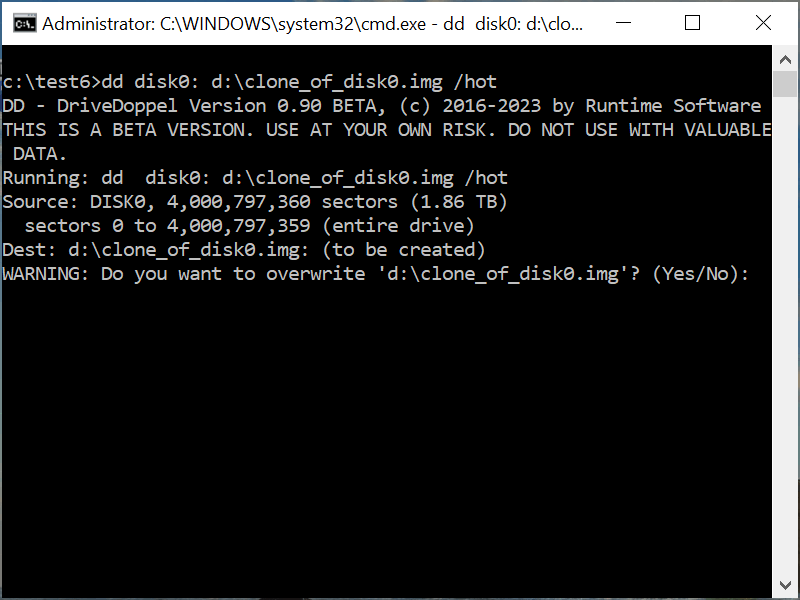
DriveDoppel: Running in Command Prompt

DriveDoppel's innovative approach combines backup and data recovery functions. It allows using a backup for data recovery or employing a recovery image as a backup, potentially bypassing the data recovery process.

DriveDoppel runs inside the Windows Command Prompt. The program will backup, image and restore drives formatted with any file system. 

VSS Technology for Hot Backups or Clones

DriveDoppel utilizes Microsoft's VSS technology to create "hot" images for backup clones, ensuring consistency and version accuracy from the process's start while allowing ongoing computer use. Its "smart" cloning feature copies only used drive portions, accelerating the cloning process.

Ignore Bad Sectors For Data Recovery

For data recovery or forensic purposes, the software clones all sectors, regardless of usage, to provide a comprehensive image for later analysis. DriveDoppel also offers an option to bypass bad sectors, maximizing data retrieval in the created image.

Installation

Installation is straightforward: simply download DD.EXE into a desired folder, open a command prompt as an administrator, and you're set to start.

DriveDoppel Command Line

DriveDoppel is a command line tool similar to the Copy command. Its syntax is:

dd from-drive to-drive options

The from-drive and to-drive can be existing drives (DISK0:, DISK1:, etc) or DriveDoppel-created images. to-drive can also be a new file name for creating an image, or CON: to output a disk's content to the console. Additionally, from-drive can be NULL: to overwrite the to-drive with zeros, or VIM files, representing virtual drives composed of various drives, as created by RAID Reconstructor.

Drive Names

IMPORTANT: DriveDoppel identifies drives as DISK0:, DISK1:, etc., using a 0-based system where DISK0: is the first drive, DISK1: the second, and so on. Images are referred to by their filenames, like c:\images\backup_20231114.img. Alternatively, Runtime's HDnnn notation can be used, where HD128: represents the first drive, HD129: the second, etc. Floppy drives are addressed as FD0: or HD0: for the first floppy (A:). Logical drives can be referenced by their letters, such as C:, but this is not recommended for full drive cloning.

List of Drive Names

Drive Name From-Drive To-Drive
DISK0:,
DISK1:, ...
  or
HD128:
HD129:, ...

1st physical drive, 
2nd physical drive, etc
(Note that DISK is 0-based)


Applicable options:
/hot
/smart
/i


Applicable options:
/zapmbr
/y

C:, D:, ...

Logical drives (volumes)


Applicable options:
/i


Applicable options:
/y

New file image.img

Sector-by-sector image


Applicable options:
/m

New file image.imc

Compressed sector-by-sector image


Applicable options:
/m
/c

Existing file image.img

Sector-by-sector image


Applicable options:
/o (mandatory)

Existing file image.imc
Existing file image.vim

Compressed sector-by-sector image (IMC)
Virtual image (VIM)


(Existing IMC or VIM images are read-only)

Existing file image(*).img

Scattered sector-by-sector image


(Not implemented)

Console CON:

If to-drive is omitted, the second parameter defaults to CON:

NULL:Empty pseudo drive with all zeros
NULL(n):Pseudo drive with all number n, e.g. NULL(100)
NULL(mark):Pseudo drive with numbered and marked sectors
NULL(random):pseudo drive with all random value
NULL(randomn):pseudo drive with all random values 0..n, e.g. NULL(random100)
NULL(randseed):like NULL(random) but with repeatable random numbers
NULL(randseedn):like NULL(randomn) but with repeatable random numbers, e.g. NULL(randseed100)
NULL(markn):mix of NULL(mark) and NULL(randseed), e.g. NULL(mark100)
BYTES(1188FF):Pseudo drive with bytes hex 11 88 FF on sector 0, offset 0..2. Drive size is determined by number of bytes.
BOOT(code,no=1,fs=ntfs,bootable=false,start=63,count=10000000):1-sector drive with partition table.
code adds startup code. 
no is the partition number (1..4). Default is 1.
fs is the file system byte. Can be 0..255 or NTFS, FAT32, GPT. 
bootable sets the boot flag. Default is false. 
start is the LBA start sector of current partition. Default is 0. 
count is the number of sectors. Default is 4294967295.
New RAID member raid.img

Create RAID-5 member from from-drive


Mandatory option:
/raid-r5-d3-b128-oLA-#1

Drive Ranges

You can define specific sector ranges within drives. For instance, DISK0:100-200 targets sectors 100 to 200 on the first drive.

DriveDoppel Options

Options include /i (ignore errors), /hot (create hot images), /smart (clone used sections only), and /zapmbr (clone to an active drive). The /y option auto-confirms all prompts, useful for automation but risky as it bypasses overwrite confirmations.

WARNING: Drive labels like DISK0:, DISK1:, etc., may change, risking accidental drive overwrites in automated tasks.

Examples

Most things are best shown with examples, so here we go:

Data Recovery or Forensic Image

EXAMPLE: Create an image of the 3rd drive for data recovery purposes:

dd DISK2: c:\clone_of_disk2.img

EXAMPLE: If the 3rd drive has bad sectors, attach the /i option:

dd DISK2: c:\clone_of_disk2.img /i

EXAMPLE: If you want to create a compressed image, change the file name extension of the to-drive to .imc:

dd DISK2: c:\clone_of_disk2.imc /i

The previous commands will create the image in one big file.

EXAMPLE: If you need to split the image into smaller files, use the multiple file option /m:

dd DISK2: c:\clone_of_disk2.imc /i /m


Images Used Like Drives

In the previous examples, the to-drive is an image file that gets newly created. If you wish to treat an existing image like a drive, use the option /o.

EXAMPLE: Use image like drive:

dd DISK2:2048- c:\clone_of_disk2.img:63- /i /m /o

This command copies sectors 2048 and up from DISK2: to sectors 63 and up on existing c:\clone_of_disk2.img. The file image you write to must be a straight image (IMG) and not a compressed image (IMC).


Use a Real Drive as a To-Drive

EXAMPLE: Clone the 4th drive to the 5th drive for data recovery purposes, ignoring errors:

dd DISK3: DISK4: /i

If DISK4: is in use, you might get a "write error".

EXAMPLE: Prevent write error with /zapmbr

dd DISK3: DISK4: /i /zapmbr

This command removes DISK4: from Windows' oversight and enables DriveDoppel to write to it.


Backup & Restore

EXAMPLE: Clone the 1st drive to the 4th drive using the /hot option:

dd DISK0: DISK3: /hot /zapmbr

DriveDoppel will lock or use volume shadows to copy all volumes from DISK0: to DISK3, ensuring data consistency. If DISK0: is bootable, DISK3: can now be used as a bootable clone.

EXAMPLE: Clone only used areas using the /smart option:

dd DISK0: DISK3: /hot /zapmbr /smart

DriveDoppel will clone only the used sections of DISK0: to DISK3:, similar to the earlier example.

EXAMPLE: Create a compressed image file of the boot drive, capturing only the used portions while the system is running:

dd DISK0: e:\backup_clone_of_disk0.imc /hot /smart

NOTE: E: must not be on DISK0:.

DriveDoppel will lock or use volume shadows to copy all volumes from DISK0:, ensuring data consistency. If DISK0: is bootable, the image will contain a bootable clone.

EXAMPLE: Restore a file backup clone to the 7th drive:

dd e:\backup_clone_of_disk0.imc DISK6: /zapmbr

We do not need the /hot or /smart option here because the from-drive is a file image. Also, note we do need /zapmbr to gain write access to the to-drive. After this command completes, DISK6: is bootable because the image file was previously created from a bootable drive.


NULL Drive

A NULL: drive is an imaginary drive containing only token data. This can be useful when you want to erase a drive or do RAID research.

EXAMPLE: Fill the entire 3rd drive with zeros:

dd NULL: DISK2: /zapmbr

Note that you probably need the /zapmbr opton to prevent a write error because DISK2: is an active drive.

The NULL: drive can have variations. NULL(n) is one of them, a imaginary drive filled with the number n.

EXAMPLE: Fill DISK2: with elevens:

dd NULL(11) DISK2: /zapmbr

EXAMPLE: Mark all sectors of a DISK2: for research purposes:

dd NULL(hello): DISK2: /zapmbr

This command marks each sector on DISK2: with the integer representation of the current sector number, followed by the string "hello", the current sector number in hex representation, and the current sector number in decimal string representation.

EXAMPLE: Display sector 11 of the NULL(hello): drive on the console:

dd NULL(hello):11

Sector 11 (0xB)
000: 0B 00 00 00 00 00 00 00 48 45 4C 4C 4F 00 00 00 ........HELLO...
010: 00 00 00 00 00 00 00 00 00 00 00 00 00 00 00 00 ................
020: 30 30 30 30 30 30 30 30 30 30 30 30 30 30 30 42 000000000000000B
030: 00 00 00 00 00 00 00 00 00 00 00 00 00 00 31 31 ..............11
:

A NULL: drive can be extremely helpful if you want to do RAID research and need to track where each sector goes.

The last form of a NULL drive is NULL(random):, which fills sectors with random data.

EXAMPLE: Display random data:

dd NULL(random):0


RAID Research

The /raid option is designed for research and allows extracting RAID members from a drive.

EXAMPLE: Extract a RAID member from DISK3:

dd DISK3: c:\raid.img /raid:r5-d3-b128-oLA-#1

This command will create member #1 (of 3) of a RAID-5 with a block size of 128 sectors and left-asynchronous rotation (LA). This member will be put into the image file c:\raid-r5-d3-b128-oLA-#1.img.

If you want to extract all members, continue with #2 and #3.

EXAMPLE: Extract remaining RAID members:

dd DISK3: c:\raid.img /raid:r5-d3-b128-oLA-#2
dd DISK3: c:\raid.img /raid:r5-d3-b128-oLA-#3

You will now have the files:

raid-r5-d3-b128-oLA-#1.img
raid-r5-d3-b128-oLA-#2.img
raid-r5-d3-b128-oLA-#3.img

If you use RAID Reconstructor to reassemble these three members into one drive, it will be equal to DISK3:.
© 2024 Runtime Software